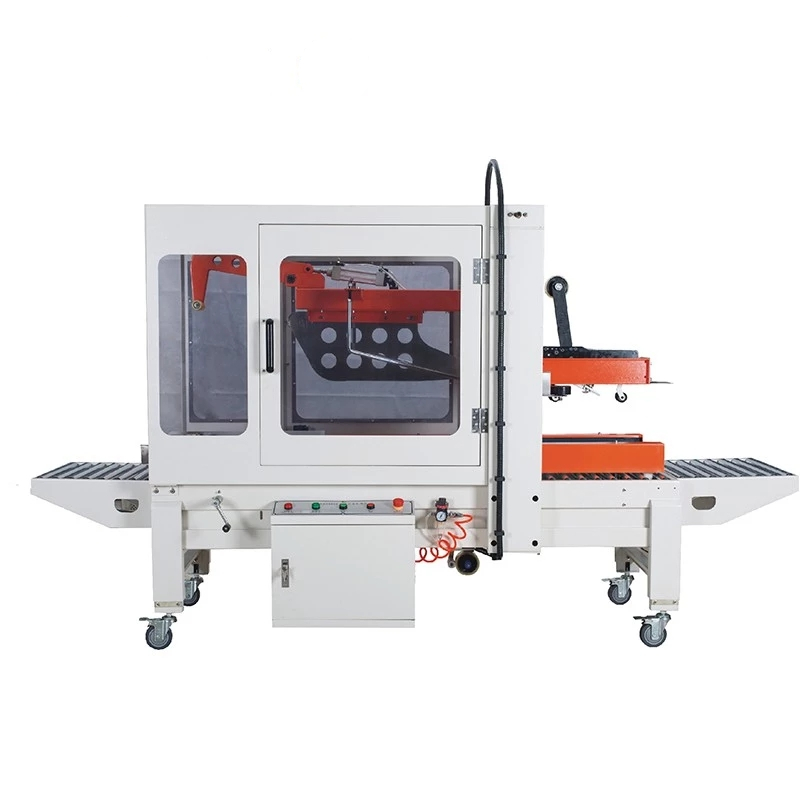
Specifications
| Model | DQL5545S | DQL5545SG |
|---|---|---|
| Power Source | AC220V 50Hz/60Hz | AC220V 50Hz/60Hz |
| Power (Horizontal Sealing) | 1100W | 1100W |
| Power (Vertical Sealing) | 800W | 800W |
| Sealing Temperature | 180℃—250℃ | 180℃—250℃ |
| Sealing Time | 0.2-1.0 seconds | 0.2-1.0 seconds |
| Film Thickness | 0.012-0.06 mm | 0.012-0.06 mm |
| Capacity | 0-30 packs/min | 0-40 packs/min |
| Air Source | 5-6 kg/cm² | 5-6 kg/cm² |
| Packing Material | PE, POF, PVC | PE, POF, PVC |
| Max Sealing Size | L550×W450 mm | L550×W450 mm |
| Max Packing Size | H≤140, L+2H≤550, W+H≤360 mm | H≤140, L+2H≤550, W+H≤360 mm |
| Machine Size | L1780×W880×H1610 mm | L1780×W880×H1740 mm |
| Weight | 320 kg | 320 kg |
Control Panel
The control panel has several buttons and switches (Figure 3):
- Touch screen
- Horizontal sealing temperature control
- Power indicator
- Green light (run button)
- Red light (stop button)
- Vertical sealing temperature control
- Temperature switch
- Manual/automatic selection switch
- Emergency stop switch
Operating Instructions
Preparation
- Check Air Pressure: Ensure air pressure is 5-6 kg/cm².
- Power On: Turn the power switch to “ON”.
- Heat On: Turn the sealing cutter electric switch to “ON”.
- Set Sealing Time: Adjust the sealing time.
- Set Margins: Adjust the front and rear margins.
- Adjust Height: Set the height of the triangular plate according to item height.
- Adjust Width: Set the front conveying width according to item width.
- Install Film: Follow the film-winding diagram to install the packaging film.
- Clamp Film: Pass the film through rollers and clamp the open end.
- Manual Sealing: Press the manual sealing and cutting switch.
- Start Conveyor: Turn on the operation switch to start the conveyor belt.
- Test Run: Use your hand to cover the electric eye to make the film roll out and seal, or jog the film and sealing manually.
- Waste Film: Pull the waste material to the waste film reeling device and fix it.
Start-Up
- Connect Power: Ensure the power supply is AC220V 50-60Hz.
- Use Safe Electricity: Ensure the use of industrial safety electricity.
- Connect Air Source: Connect dried and filtered air source, ensure stable air pressure.
- Check Standby Status: Ensure safety door and detection devices are in place.
Boot Sequence
- Power On: Turn on the power switch, tri-color light turns on.
- Heating On: Turn on the heating switch, temperature control starts.
- Set Temperatures: Set horizontal and vertical sealing temperatures.
- Set Parameters: Adjust sealing time, item height, front and rear margins.
Automatic Operation
- Set Parameters: Before automatic operation, set sealing and cutting temperatures, time, and margins.
- Start Automatic Mode: Enter the automatic control page, press [Start] or the run button on the panel.
- Operation Process: Place the material on the infeed conveyor belt. The material is transported forward, detected, and sealed automatically.
Alarm Handling
- Sealing Alarm: If the alarm indicator stays on, the machine stops running and shows fault information.
- Emergency Stop: Press the emergency stop button if the machine runs abnormally.
- Film Collection Alarm: If the film collection motor runs continuously for more than 5 seconds or does not run within three cycles, the alarm indicator stays on, indicating a film disconnect or limit switch issue.
Film Installation
- Film Materials: PE, POF, PVC half-folded film, thickness 0.012-0.06 mm.
- Film Width Calculation: Folded film width ≈ product width (W) + product height (H) × 2 + (50 ~ 150) mm.
- Film Guide: Follow the film-winding diagram to guide the film through rollers and the separation triangle.
Packaging Film Method
- Film Material: Install the film material on the rollers, with the opening facing inside the machine.
- Adjust Stoppers: Fit the film stopper rods at both ends of the film.
- Pass Through Rollers: Pull the film through the rollers and separation triangle.
- Clamp Film: Clamp the open end of the film into the clamping chain.
- Manual Sealing: Perform manual sealing to ensure proper installation.
Troubleshooting
| Problem | Cause | Solution |
|---|---|---|
| Power indicator off | Power not turned on | Turn on power switch |
| Blown fuse | Replace fuse | |
| Power switch damaged | Replace switch | |
| Internal wiring failure | Check and measure | |
| Circuit breaker trip | Check and replace components | |
| Film not cut | Uneven knife pressure | Adjust pressure |
| Damaged sealing knife | Replace knife | |
| Low air pressure | Adjust pressure | |
| Conveyor issues | Loose belt | Adjust tension |
| Tight belt | Adjust tension | |
| Damaged motor gear | Replace gear | |
| Sealing arm not moving | Damaged solenoid valve | Measure and replace |
| Low air pressure | Adjust pressure | |
| Sensitive safety device | Adjust switch | |
| Temperature issues | Blown fuse | Replace fuse |
| Damaged heating tube | Replace tube | |
| Damaged thermostat | Replace thermostat | |
| Damaged relay | Replace relay |
6. Maintenance
- Clean Sealing Parts: Use a soft cloth to clean the sealing part after work.
- Lubricate Moving Parts: Regularly clean and oil moving parts like shafts, rods, and chains.
- Protect Sealing Blade: Replace the high-temperature varnished fabric if burned.
- Replace Worn Parts: Replace worn sealing cutters and silicone strips.
